Sounds like an interesting title for a book. (But I think it’s been done).
Years ago Ansel Adams conveniently subdivided the exposure range for film into 10 segments called zones. Zone 0 was pure film base with no exposed emulsion and Zone 10 was film based plus emulsion built up to the point where the negative was essentially opaque. Zone 0 printed pure black and Zone 10 came out white. The ideal print had the full tonal range and Adams was a master at this.
We still have tonal range with digital but now it’s divided up into 255 zones for three different colors, Every pixel is calibrated somewhere along this range in red, green and blue and collectively as gray. We can call this the new zone system.
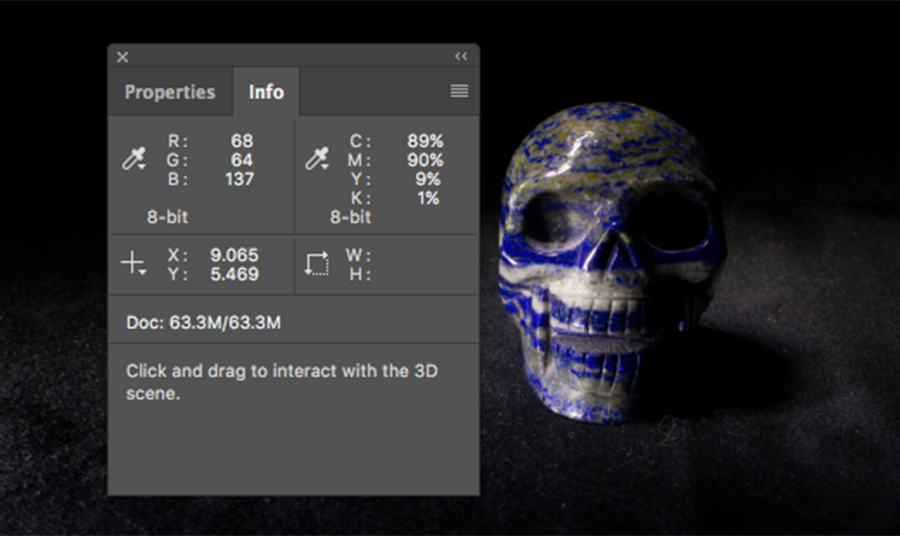
You can see the distribution of pixels along these zones in the histogram and can get a precise reading of any area of your photo using the Info Window in Photoshop. As you move your cursor over the image the Info Window will display the values of RGB and where the pixels fall along the scale from 0 to 255.

This may seem a little geeky and maybe not essential knowledge and that’s true, but it can also be useful. It’s never really a bad idea to better understand the technology you are using. Popping up the Info Window and browsing your photo with it will give you insight into how the colors mix together to create what you see on the screen. This can be especially useful when trying to achieve pleasing skin tones.
Ansel Adams was onto something when he decided to look deeper into his technology and he used this knowledge to become a great photographer. The more you know the more you know.